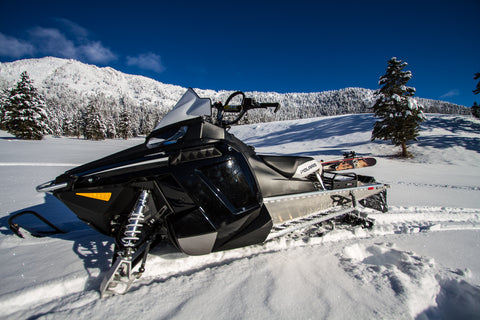
2013 Polaris Pro RMK
Installing a Snowmobile Rack on the Polaris Pro RMK 2013.
Thanks to Matt for emailing this install in! Use your bonus check to buy extra beer, and everybody wins!
Tools Needed:
Port Tack Rack (kind of the whole point!)
Drill
1/4" Drill bit
1/4" x 1" long carriage bolt - Qty. 6
Hammer
Center Punch
Tape Measure
Felt Marker
Straight Edge
7/16 wrench
Optional:
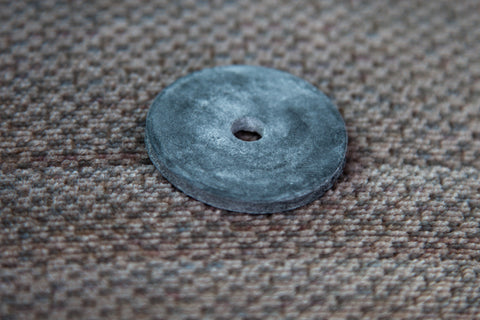
1/4" x 1.5" x 1/8" Rubber Washer. Not supplied by PTR but added in this install.
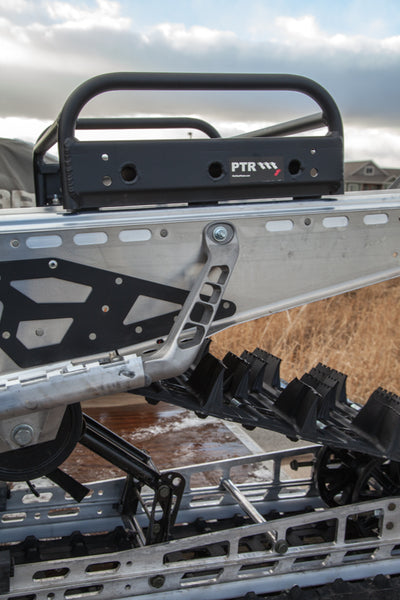
Polaris Pro Rmk's have two rails that are used for mounting products on the tunnel. The rails use 1/4" carriage bolts for securing the optional products. This install uses 6 carriage bolts to secure the rack.
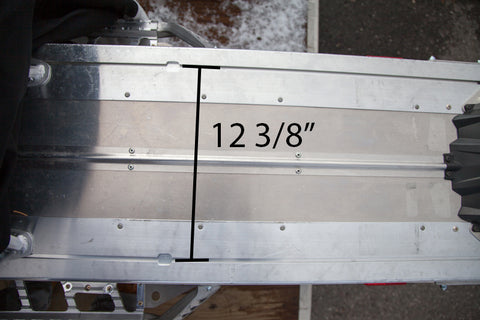
The predrilled holes on the Port Tack Rack don't quite fit the Polaris Pro RMK's so in order to install the rack centered, you must drill your own holes (this is really easy though). The rack is 11 5/8" inside edge to inside edge. The Polaris rails are 12 5/8 on center apart. This leaves a differences of 1" total between the rack inside edges and the rails.

Split this in half and you must go 1/2" from the inside edge of the rack. Either measure this distance or place rack on the tunnel and mark the center of one rail.

Using a straight edge, mark a line connecting the marks you made. Center punch the number of holes you want. In this install, I used 3 per side.
Drill one side of holes with a 1/4" drill bit.
Place rack back on tunnel with screws in place to verify holes line up. Mark the other side of the rack from the center of the rail at the front and back as you may have drilled your holes slightly off. Repeat the previous process for marking and drilling holes.
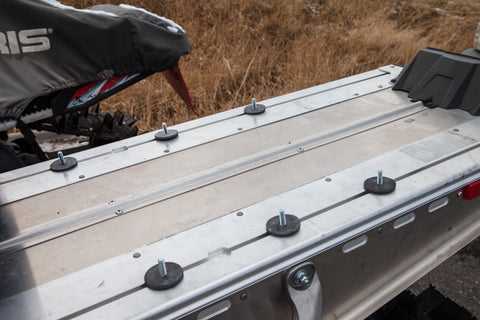
Place the number of carriage bolts you used onto the tunnel rails and put the rubber washer (optional) on them. Place the rack through all holes and then put one of the supplied washer and lock-nuts on each bolt. Tighten.
Now you are all done and it is time to celebrate your efforts with a beer!